Day Two - Choice Engine, Splatter Effect, Animations, and ABLOBALYPSE
On the second day, I focused on the choice engine and splatter effect. I also added some animations to give my characters more life. First, I gave iframes to the player upon being hit.
Player Hurt Animation
When the player gets hit, he becomes invulnerable for a period of time. This is shown via flashing, and through x-eyes.
Again, we use a state engine to handle this. We have two versions of the walking sprite: hurt and not hurting. Somewhere in the step event, we’re able to handle transistions between these two states. Finally, we use the draw event to reflect these states.
Surface Masking
It took me a long time to figure out how to make the splatter mechanic work. The plan was to create the room with the room tile layer invisible, then initialize a surface and draw the tile layer to the surface. Then, the splatter effect is drawn onto this surface using some blend mode.
It took me a while to figure out what blend mode to use. First, I had to learn what exactly they do. Essentially, when something is drawn to the screen, the computer needs to know how to process that information. For instance, if I’m drawing rgba(255, 0, 0, 0.5) onto a white (rgb(255, 255, 255)) document, my instinct might be to just add up all these numbers. However, this clearly will not work, as the white has its RGB values maxed out, so the red just won’t show. Under the hood, there’s some calculation between source and target pixels to determine the final resulting pixel.
I thought that I’d be able to use the following blend mode:
gpu_set_blendmode_ext_sepalpha(bm_one, bm_zero, bm_zero, bm_one);
In this function, Game Maker essentially takes a dot product. Suppose we have ci = rgba(ri, gi, bi, ai). Then:
gpu_set_blendmode_ext_sepalpha(c1, c2, c3, c4);

// draw the target color (rt, gt, bt, at) onto the source (rs, gs, bs, as)

color = (r1*rt + r3*rt, g1*gt + g3*gt, b1*bt + b3*bt, a2*at + a4*as);
According to my understanding, the inputs (bm_one, bm_zero, bm_zero, bm_one) should therefore use all the color from the target but none of the alpha, and then all of the alpha from the target but none of the color, which gives the effect of a clipping mask that I want. However, I couldn’t get this to work.
Eventually, the real solution ended up being much simpler:
gpu_set_colorwriteenable(1, 1, 1, 0);
This just disables the alpha channel entirely so that the GPU does not register any calculations on it.
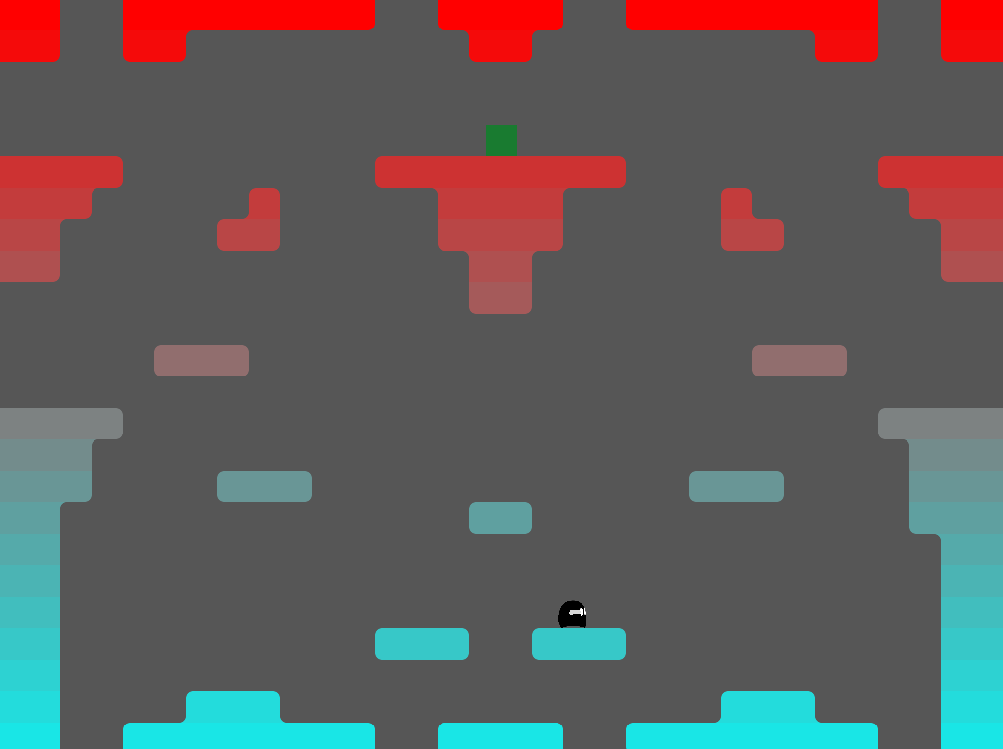
Here’s a test mask using the following code:
gpu_set_colorwriteenable(1, 1, 1, 0);
count = room_height/32;
for(i=0; i<count; i++) {
	draw_set_color(make_color_rgb(255-i*10, i*10, i*10));
	draw_rectangle(0, i*32, room_width, (i+1)*32,false);
}
gpu_set_colorwriteenable(1, 1, 1, 1);
//gpu_set_blendmode(bm_normal);
As we can see, it works pretty well.
Splatter
Finally, we can move onto the splatter effect. There were two primary difficulties moving into this. First, how can we have many splatters of different colors, but on one sprite. Second, how can we animate the impact of each splatter?
For the first issue, I ended up using a shader. A shader is essentially a draw function. In Game Maker, we can declare which shader is being used. We want to make a shader that takes a single parameter (color) and, rather than drawing the target texture color, just passes its parameter color instead. This way, a generic white splatter sprite can be recolored as anything.
Here’s the shader we use. A shader is two components, vertex and fragment - we just ignore the vertex part.
// recolorShader.fsh
varying vec2 v_vTexcoord;
varying vec4 v_vColour;

uniform vec4 myColor;

void main()
{
	gl_FragColor = myColor;
	gl_FragColor.a = texture2D( gm_BaseTexture, v_vTexcoord ).a; // just get the alpha from the texture
}
In our case, we actually use the target alpha so that we can put anti-aliasing on our sprites.
Here’s how it looks in-game:
For the animation, I ended up having each splat destroy itself on contact and initializing a bunch of invisible objects. Each of these invisible objects is one “streak” of paint, allowing for the full splatter to be drawn over multiple frames.
Here’s something fun that came out while I was testing animations:

And here’s the final splatter effect
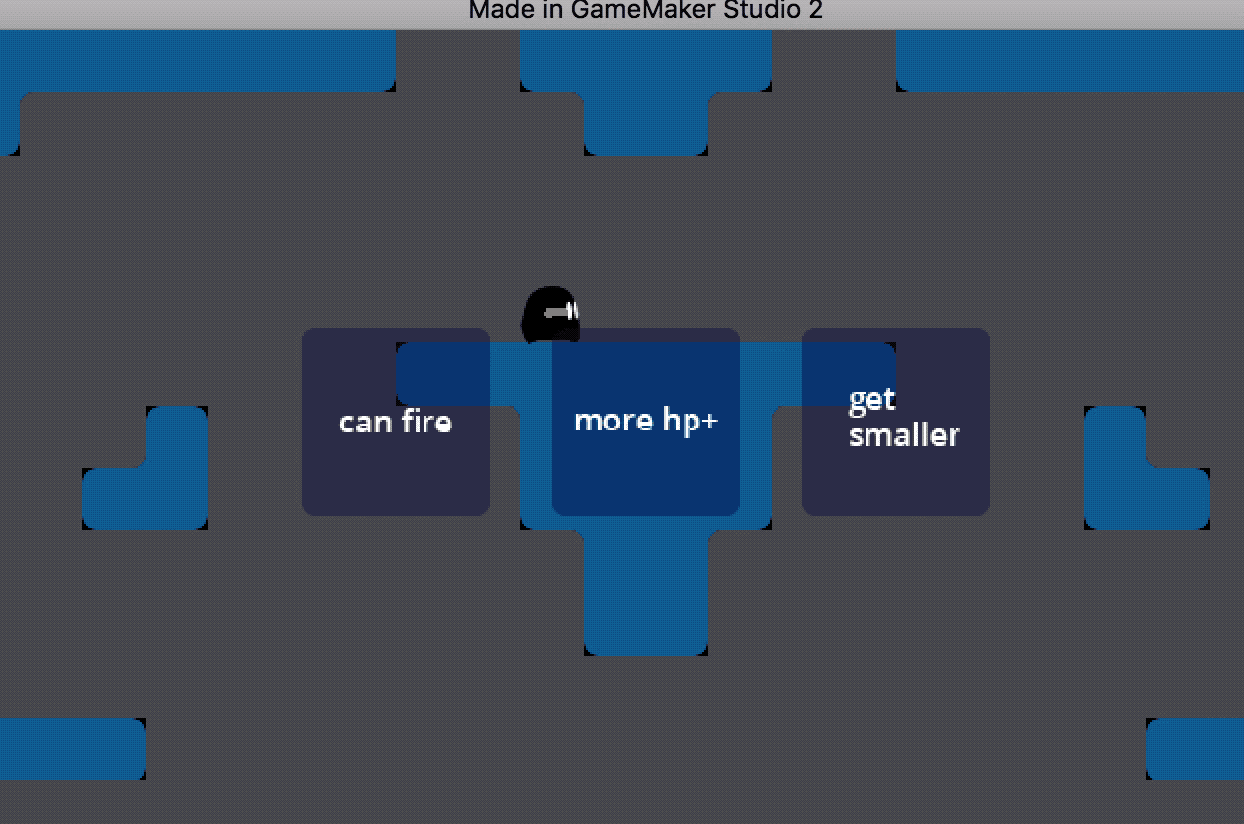
Choice Engine
For the choice engine, we use Game Maker’s built in alarm system. In Game Maker, every instance has a set of alarms that count down every frame. When these alarms reach below 0, an alarm event is triggered.
Here’s the final product:
Enemy Animations
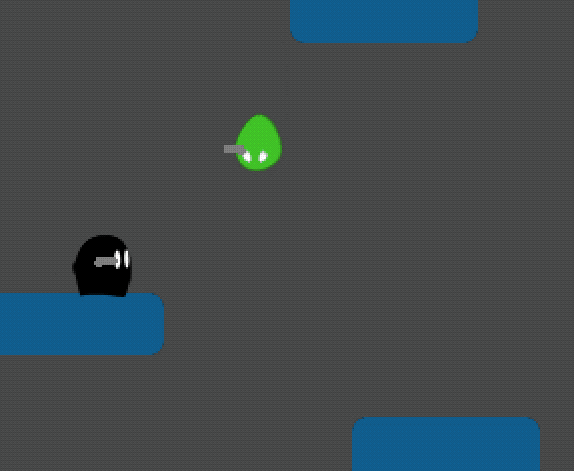
I made some animations for the enemies. Whereas my original idea was to use blocks for each enemy, I decided that blobs would be more fun.

Also, this means I’m rebranding from Ablockalypse to Ablobalypse now. It doesn’t have quite as much kick, but it does flows better.
Player Death Animations
When the player dies, he explodes into lots of color. This is just for fun. Also, the gun goes flying off!

More on Enemies
I programmed the AI for allowing enemies to shoot, which previously was not there. It’s exactly the same as the normal AI, but the enemy fires shots during the rest phase.
You’ll also notice that each enemy is recolored. This uses a very similar concept to the recolor shader for the splatters, except that we modify it to allow the white eyes to show through. We do this by adding the two sources together, and by setting the original sprite color as black.

Also, here’s the updated death animation which is recolored for the given enemy. You’ll notice we also have the gun fly off.
Moving Forward
Moving forward, I’d like to turn what’s currently a tech demo into an actual game. To do this, I need to add incentives, scoring, and progression.